The first step in setting up Atlas is providing a domain or a subdomain through which the users will access their email. You have three choices:
1. Use your own domain,
2. Use your own subdomain, or
3. Use the Atlasinbox.com subdomain.
We will go through the basic options below.
Step 1:
Option 1 — Using your own custom domain
In order to use your own domain, you need to point its DNS CNAME record to host.atlasinbox.com. This is done by logging in to your domain's registrar, the service where you purchased the domain.
Option 2 — Using your own subdomain
In order to use your own subdomain, you'll need to point its DNS CNAME record to host.atlasinbox.com. Note that you don't actually need to create the subdomain to do this; you only need to create a new CNAME record. Here are the steps for cPanel. Otherwise follow similar instructions below:
1. Click on Zone Editor in the Domains section.
2. Click +CNAME RECORD next to the domain you want to use.
3. Type the subdomain you want to redirect and the Atlas host address: host.atlasinbox.com. Don't use subdomains 'mail' or 'webmail' because they will most likely already be used on your system.
4. Click 'Add a CNAME Record'.
Option 3 — Using the Atlasinbox.com subdomain
To make it easy to get started, we offer a few domains that can serve as an access point to your email. When using our domains, there's no need to edit any DNS records; all you need to do is specify a unique subdomain that will be prepended to the Atlas domain of your choice. Here are the steps for adding a subdomain using the default Atlasinbox.com.
Step 2:
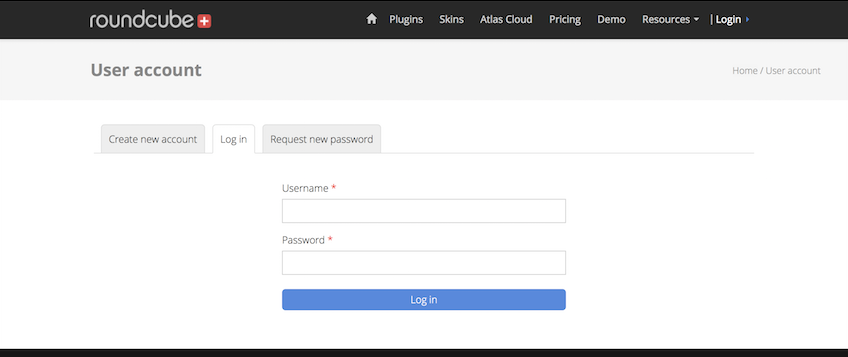
Now we need to setup the subdomain in the Atlas console, so login to your account at Roundcubeplus.com.
LOGIN HERE (Opens new tab)
Step 3:
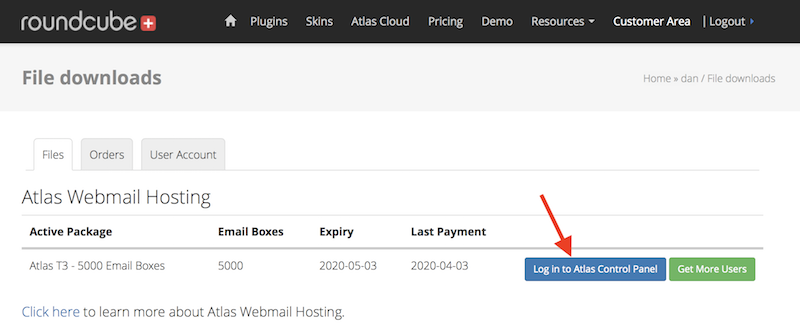
After signing in you will be taken to the customer area click the Atlas Control Panel link.
Step 4:
Next head to the Domains section.
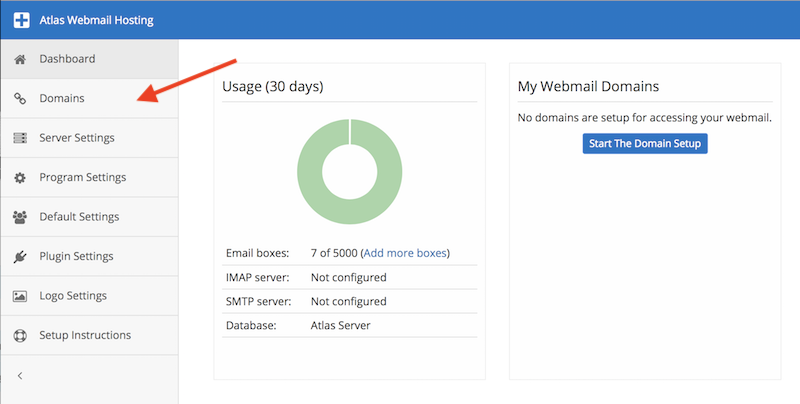
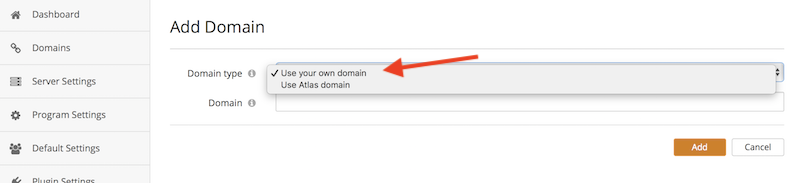
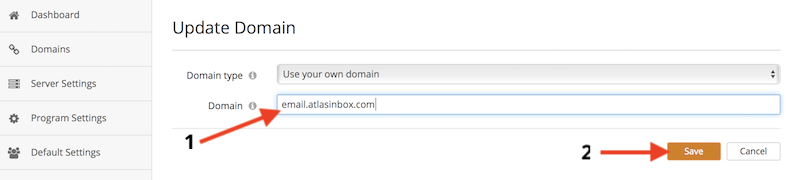
Step 5:
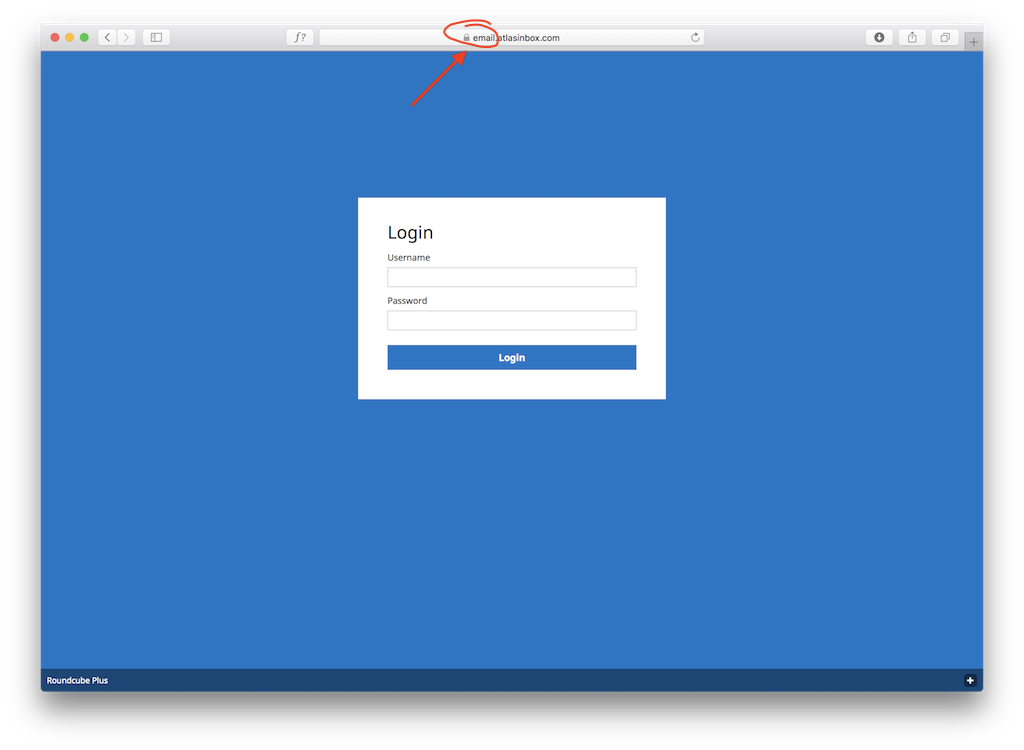
Here you will add the domain or subdomain. Choose an option from the dropdown. Make sure you use the same name you created in the CNAME record for in your hosting account (unless you choose "Use Atlas domain", then you can put any name), in our case this is email.atlasinbox.com. This will become the link to access your webmail.
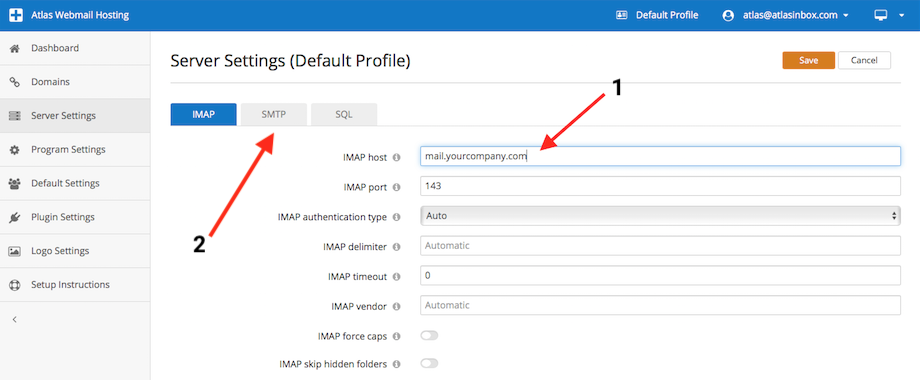
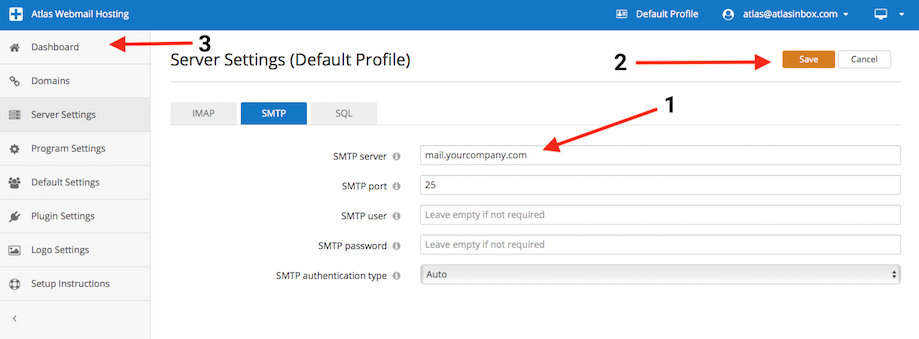
Step 6:
Now setup your IMAP and SMTP so you can receive and send mail. This is usually formatted as “mail” followed by your domain name like this: mail.yourdomain.com for both IMAP and SMTP.
Step 7:
Now back in the Atlas Dashboard where you should see your cool new webmail domain. Click that domain to access your webmail.
From here on out you no longer need to go through any of the steps above. Just bookmark that subdomain and access your email from there.

Step 8:
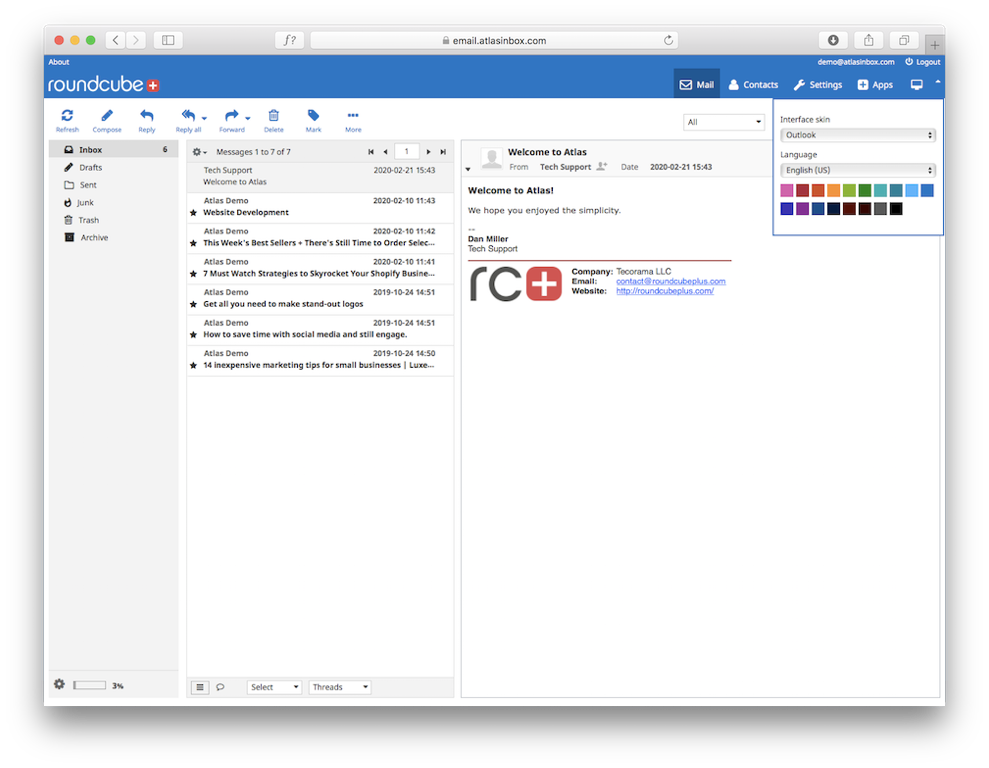
Now that you have webmail setup you can login to any email accounts on that server.
The webmail link will work on desktops, mobiles and tablets.