1. Install the Lighning Addon
In order to use calendar functionality in Thunderbird, you need to install the Lightning add on. Go to Add-ons in the menu, search for Lightning and install it.
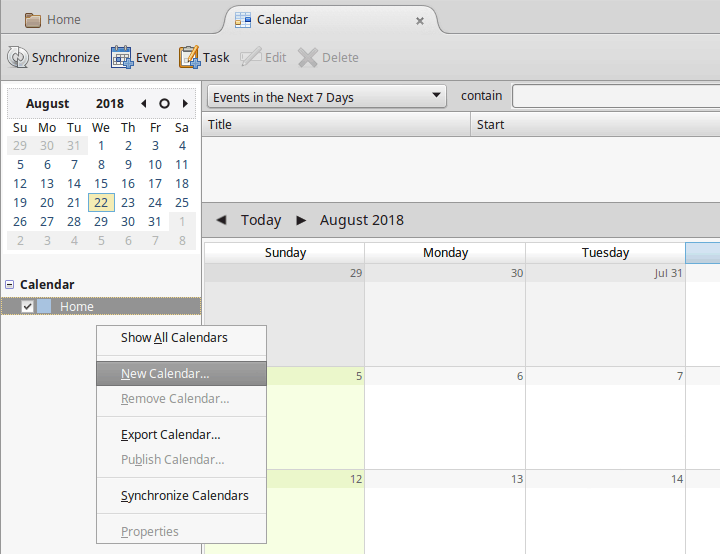
2. Add a calendar
Right click on the calendar sidebar and select New Calendar.
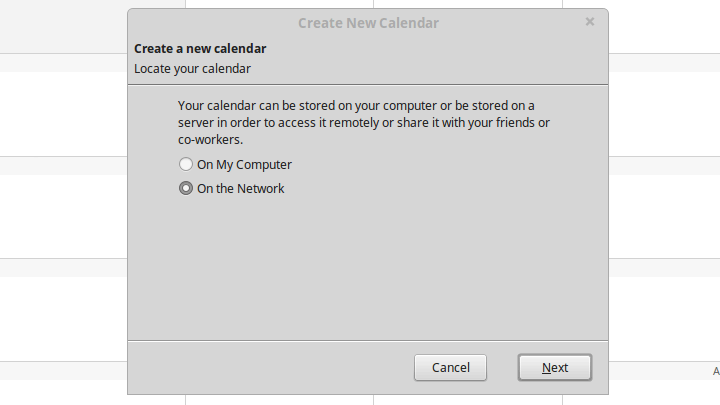
3. Select calendar type
On the first page of the New Calendar wizard select On the Network and click Next.
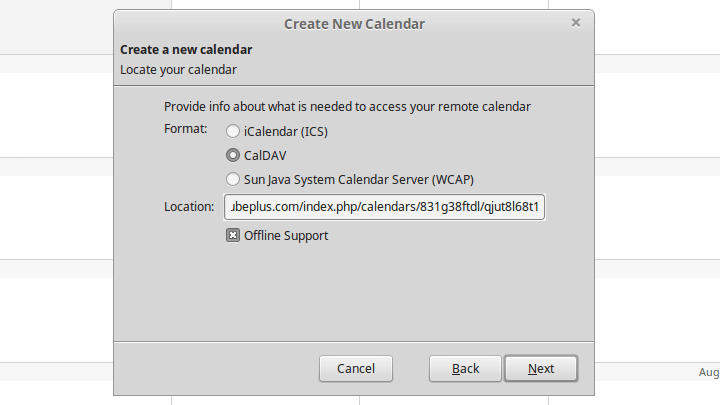
4. Type the calendar location
Set Format to CalDAV and in the Location field type the Alternate URL that you can find in the connection details of your Roundcube calendar. (Make sure to use the Alternate URL, not the URL.) Click Next.
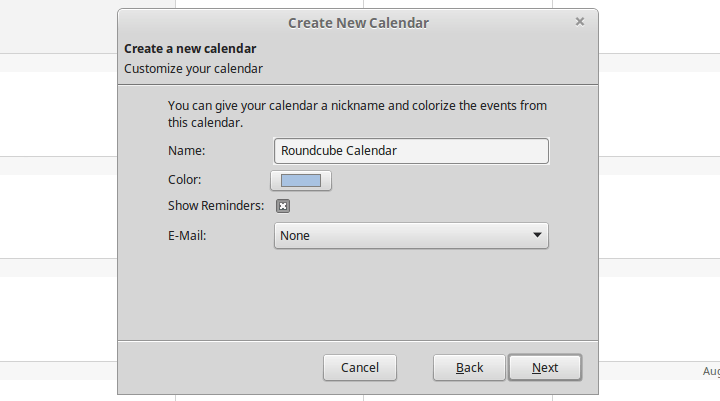
5. Type the calendar location
Type the name of the calendar as you want it to appear in the calendar list on the sidebar. Click Next.
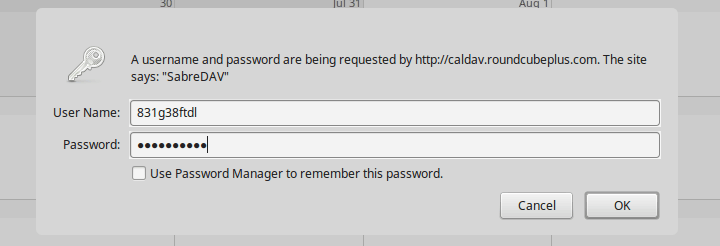
6. Authenticate
Type the username that you got when creating the CalDAV connection in Roundcube and the password that you chose. Click OK.
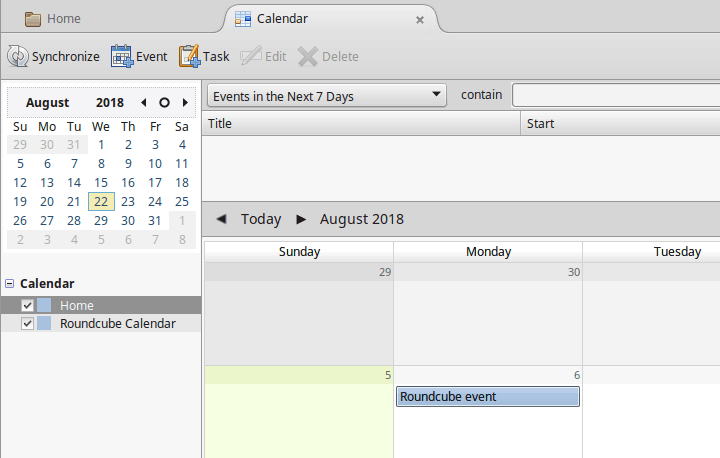
7. Done
You should now see your Roundcube calendar in the calendar list on the sidebar and its events in the calendar grid.