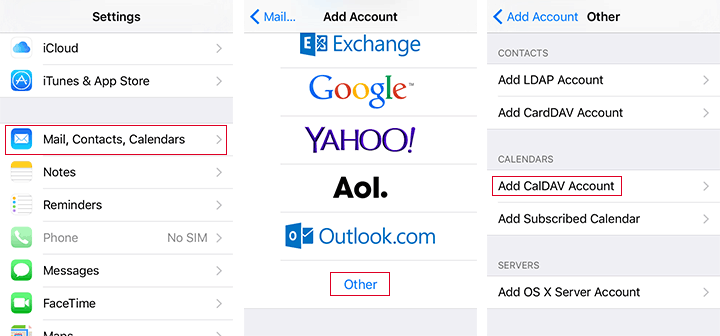
1. Add account
Go to Settings / Mail, Contacts, Calendars, click on Other, then click on Add CalDAV Account.
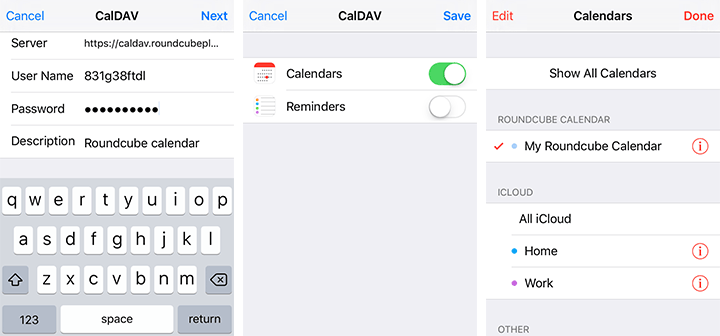
2. Type the calendar details
Type the URL and the user name that you can find in the connection details of your Roundcube calendar. (Make sure to use the URL, not the alternate URL.) Type the password you chose when creating the connection and the description of the calendar. Click Next.
Uncheck the Reminders box and click Save.
When you open the Calendar app and click Calendars you should now see your calendar in the list of calendars.