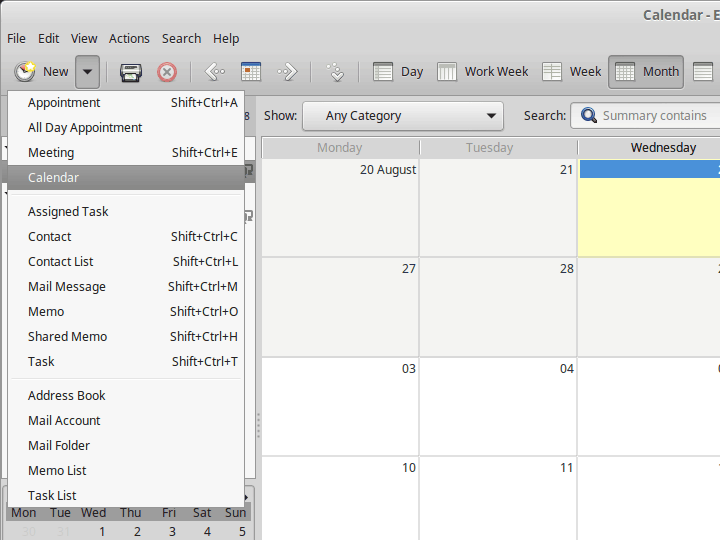
1. Add a calendar
Click the arrow next to the New button and select Calendar.
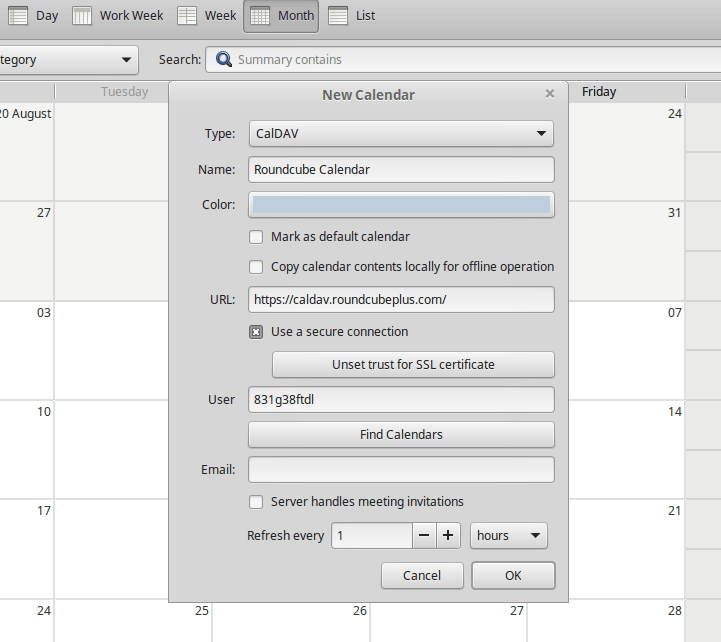
2. Type the calendar details
Set Type to CalDAV and choose a name for the calendar. In the fields User and URL type the user name and the URL that you where given when you created the CalDAV connection in Roundcube (use the URL, not the Alternate URL.) Click Find Calendars.
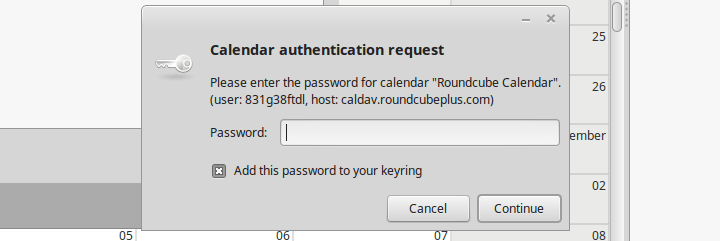
3. Authenticate
When you click Find Calendars, an authentication dialog will be shown. Type the password you chose for your CalDAV connection in Roundcube.
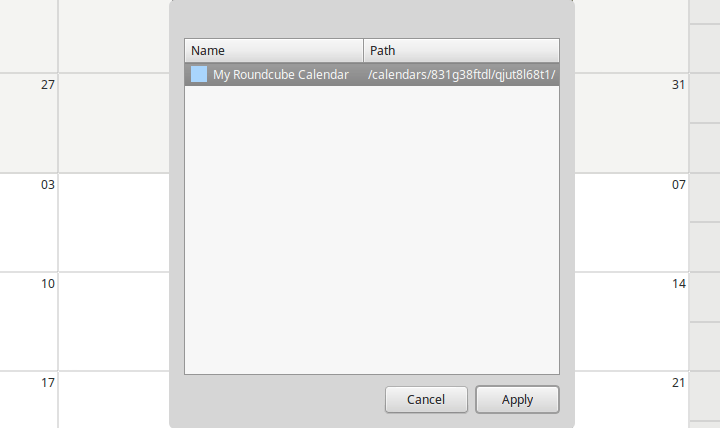
4. Select your calendar
In the calendar selection dialog, choose your Roundcube calendar and click Apply. Click OK to close the New Calendar dialog.
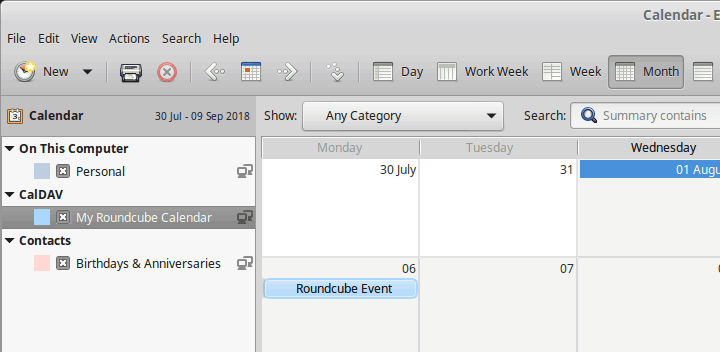
4. Done
You should now see your Roundcube calendar in the calendar list on the sidebar and its events in the calendar grid.