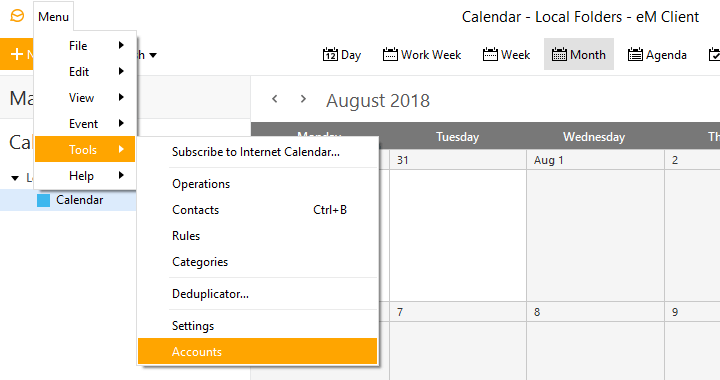
1. Create a new account
Select Tools / Accounts from the program menu. If you don't have any accounts yet, you'll be shown the New Account wizard. If you already have some accounts, you will be shown a dialog with the list of your accounts. Click the plus button in the left bottom corner of the dialog to start the New Account wizard.
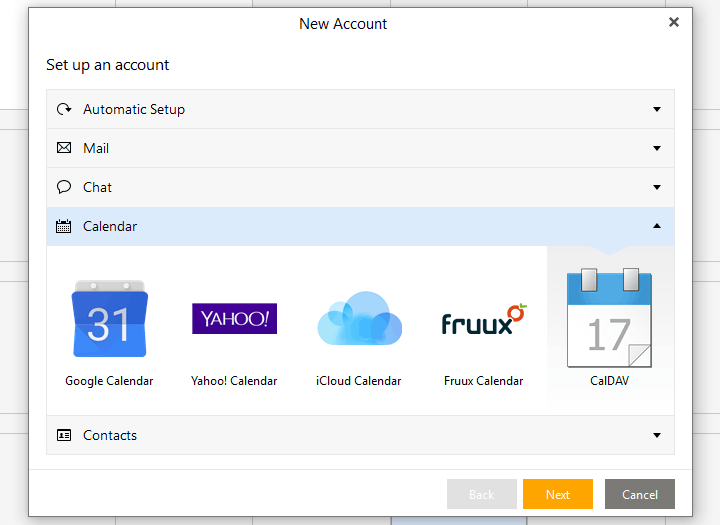
2. Select calendar type
On the first page of the New Account wizard, select Calendar and then CalDAV. Click Next.
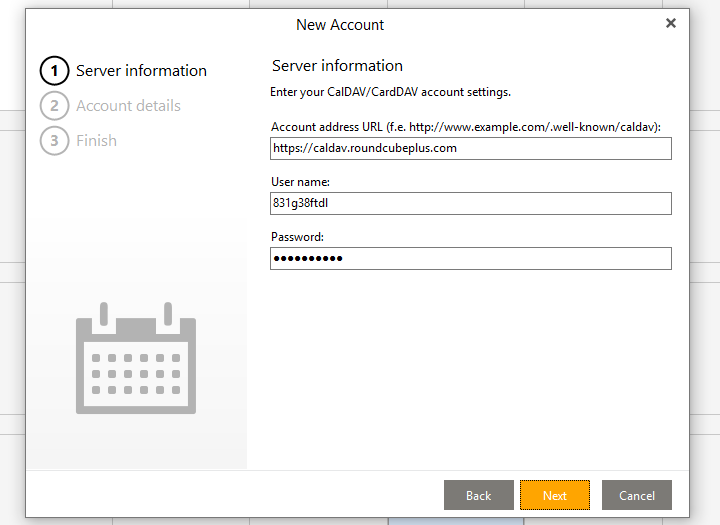
3. Type the server information
On the Server information page type the URL and the user name that you can find in the connection details of your Roundcube calendar. (Make sure to use the URL, not the Alternate URL.) Type the password you have chosen when creating the Roundcube CalDAV connection. Click Next.
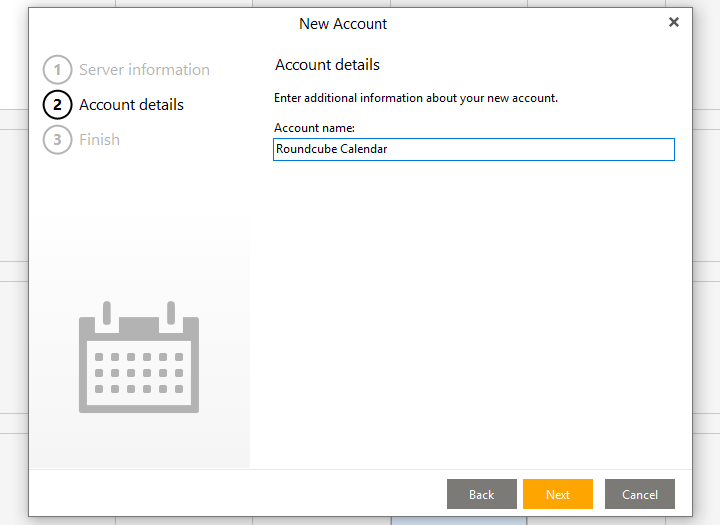
4. Type the account name
Type the name of the account. This name will be shown on the calendar sidebar. Click Next and then Finish.
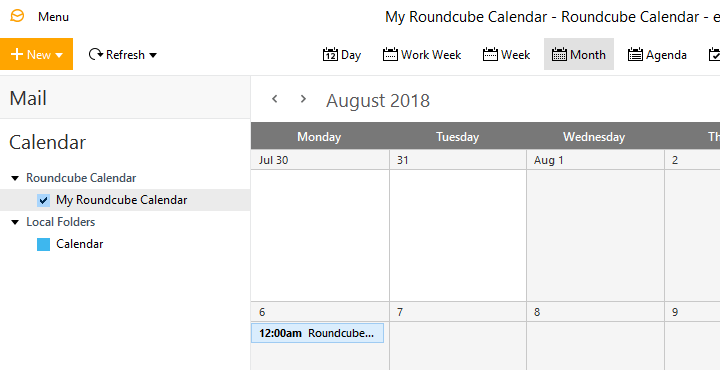
5. Done
You should now see your Roundcube calendar in the calendar list on the sidebar and its events in the calendar grid.