This tutorial assumes you already have an Atlas account. If you don't you can get one here: GET ATLAS HERE.
Step 1:
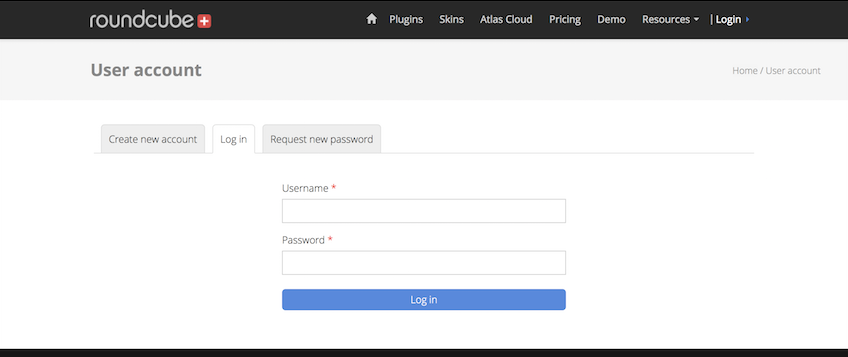
Login to your account at Roundcubeplus.com.
LOGIN HERE (Opens new tab)
Step 2:
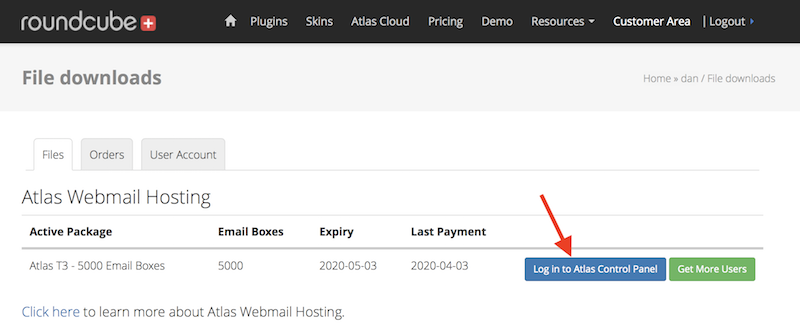
After signing in you will be taken to the customer area click the Log in to Atlas Control Panel link.
Step 3:
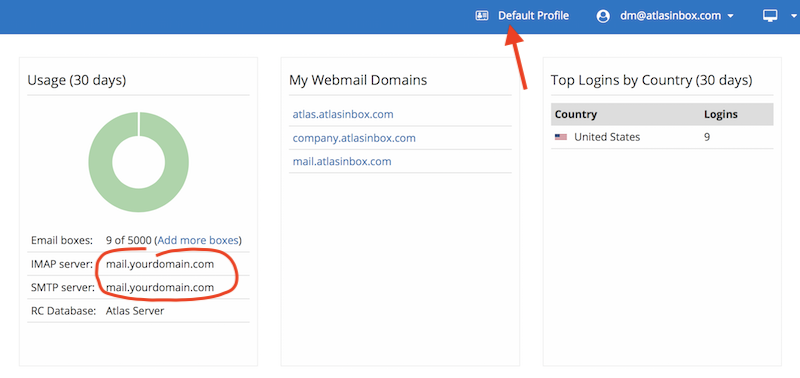
To add another server profile go to Default Profile.
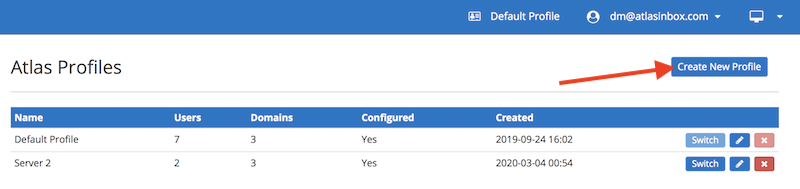
Step 4:
Click Create New Profile.
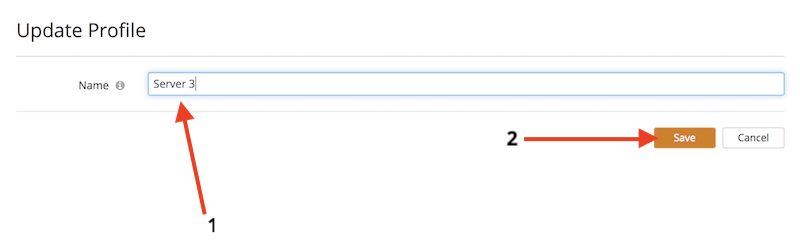
Step 5:
Next enter a new profile name, for example: "Server 3" and hit Save
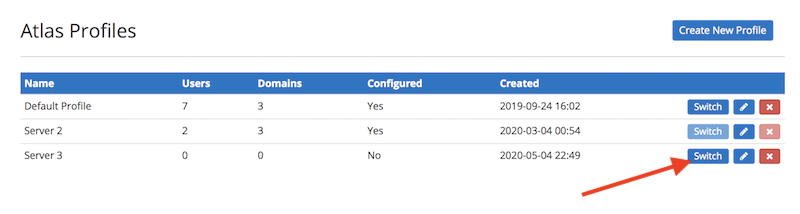
Step 6:
After you save you will see your profile list. To start using your new profile, click the Switch button and it will take you to a blank Atlas account. You can switch back to the Default Profile (server) at any time from this Atlas Profiles page.
Step 7:
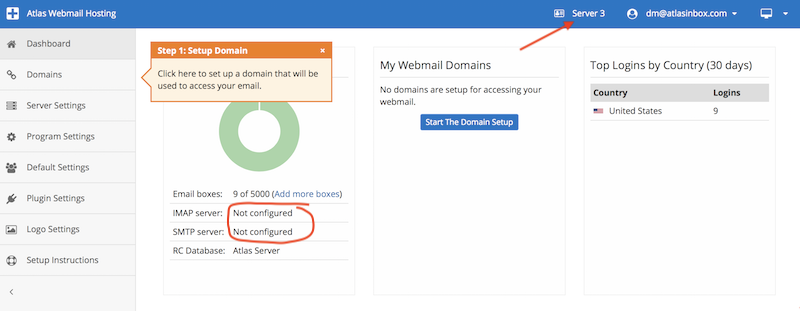
Now that you have a clean slate, you can setup Atlas as if it was a new server account.