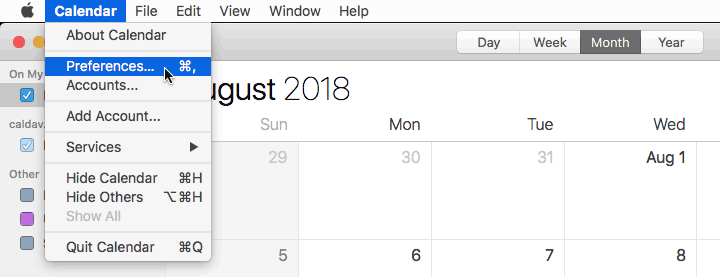
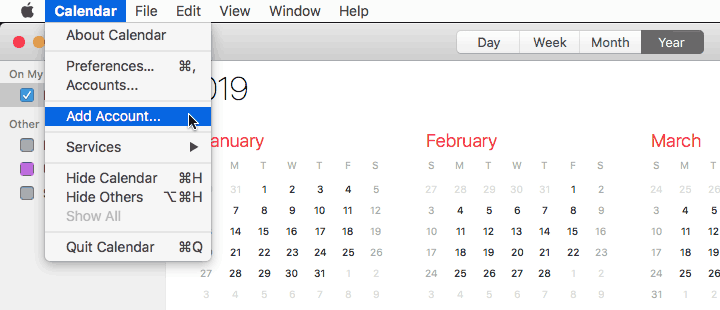
1. Add a calendar account
Open the Calendar app, click Calendar on the menu and then click Add Account.
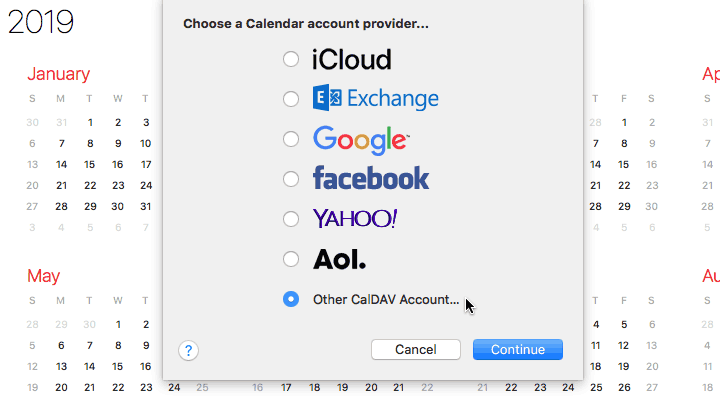
2. Select account type
When asked about a calendar provider, select Other CalDAV Account and click Continue.
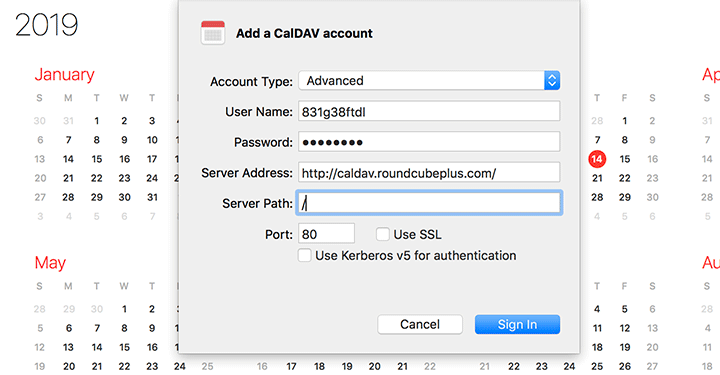
3. Type the calendar details
Set Account Type to Manual. Type the user name that you where given when you created the CalDAV connection in Roundcube. Type the password you chose when creating the connection. In Server Address, type the URL of the CalDAV connection (use the URL, not the Alternate URL.) Click Sign In.
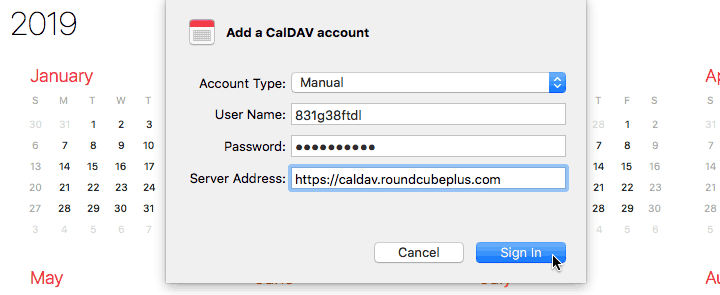
This tutorial assumes that your calendar is available over SSL (the URL begins with https.) If your URL begins with http, you'll need to set the Account Type to Advanced, uncheck the Use SSL checkbox, set Server Path to "/" (without quotes,) and set Port to 80.
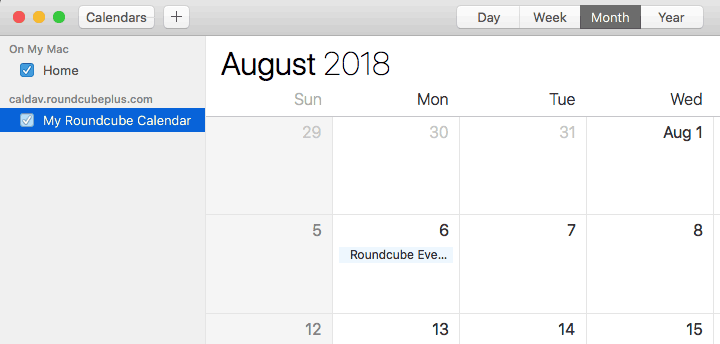
4. Done
If the connection was successful, you should see your Roundcube calendar on the sidebar and its events in the calendar grid.
5. Customize
If you'd like to customize the settings for your calendar, click on Calendar / Preferences. For example, you may want to choose a different interval for refreshing the calendar, so the events will be updated more frequently.